✅实战:使用Spring AI开发MCP Client
基于之前课程的讲解,我们已经深入了解了 MCP 的原理和概念,以及如何使用 Spring AI 开发 MCP Server,包括 STDIO、SSE 和 Streamable HTTP 三种模式,并使用 VSCode Cline 作为客户端来进行接入调用。
Cline 其实就是内置了 MCP Client,接下来,我们将介绍基于 Spring AI 的 MCP Client 开发,它在操作方式上与 Cline 类似,同时允许我们在项目中灵活定义 Client,使得我们的智能体实现更加丰富的功能。
还是和开发mcp server一样,我们先引包,传统web项目直接无脑用 webmvc 即可,追求响应式编程的可以使用 webflux,依然二选一即可:
1
2
3
4
| <dependency>
<groupId>org.springframework.ai</groupId>
<artifactId>spring-ai-starter-mcp-client</artifactId>
</dependency>
|
1
2
3
4
| <dependency>
<groupId>org.springframework.ai</groupId>
<artifactId>spring-ai-starter-mcp-client-webflux</artifactId>
</dependency>
|
接下来提供两种方式给大家讲解,一种是基于配置文件自动注入的,另一种则是手动构建。
自动注入
修改我们的配置文件,配置好,我们上节课中,讲解的三种mcp server,分别是stdio,sse,streamablehttp
1
2
3
4
5
6
7
8
9
10
11
12
13
14
15
16
17
18
19
20
21
22
23
24
25
| spring: ai: mcp:
client:
enabled: true
name: my-mcp-client
version: 1.0.0
request-timeout: 60s
type: SYNC
stdio:
connections:
weather-stdio:
command: java
args:
- -jar
- "D:\\LLMentor\\LLMentor\\mcp\\mcp-server-stdio\\target\\mcp-server-stdio-1.0.0-SNAPSHOT.jar"
sse:
connections:
weather-sse:
url: http://127.0.0.1:8003
sse-endpoint: /sse
streamable-http:
connections:
weather-streamable:
url: http://127.0.0.1:8004/stream/test/
endpoint: api/mcp
|
还有一种方式是类似于cline那种json配置的方式,但是不推荐,因为目前只支持stdio。
首先,需要在我们的resources目录下放一个mcp-servers.json文件。
1
2
3
4
5
6
7
8
9
10
11
| {
"mcpServers": {
"weather-stdio": {
"command": "java",
"args": ["-jar", "D:\\LLMentor\\LLMentor\\mcp\\mcp-server-stdio\\target\\mcp-server-stdio-1.0.0-SNAPSHOT.jar"]
}
}
}
|
然后修改stdio的配置:
1
2
3
4
| stdio:
servers-configuration: classpath:/mcp-servers.json
|
接下来,我用两种方式来演示给大家看调用方式,一种是直接通过McpSyncClient进行调用,另一种是通过注入 chatClient 来进行调用。
McpSyncClient 调用
我们上面的配置,会被自动注入到List之中,也就是说这个list包含了我们所有在配置文件注册的mcp server。
这边为了方便演示,我只调用了stdio的mcp server,其他两种大家可以自行尝试一下,调用方式都是一样的。
clientInfo表示当前客户端的信息,serverInfo则表示对应服务端的信息,这两者是一一对应的,这与我们在前面学习的概念是一致的。
1
2
3
4
5
6
7
8
9
10
11
12
13
14
15
16
17
18
19
20
21
22
23
24
25
26
27
28
|
public McpSchema.CallToolResult callTool(String type) {
String toolName = "getWeather";
Map param = new HashMap();
param.put("city", "北京");
for (McpSyncClient client : mcpSyncClients) {
McpSchema.Implementation clientInfo = client.getClientInfo();
McpSchema.Implementation serverInfo = client.getServerInfo();
log.info("clientInfo: {}", JSON.toJSONString(clientInfo));
log.info("serverInfo: {}", JSON.toJSONString(serverInfo));
try {
if (clientInfo.title().contains(type)) {
log.info("开始调用mcp服务");
McpSchema.CallToolRequest request = McpSchema.CallToolRequest.builder().name(toolName).arguments(param).build();
McpSchema.CallToolResult result = client.callTool(request);
log.info("callTool result: {}", result);
return result;
}
} catch (Exception ex) {
ex.printStackTrace();
}
log.info("====================================================");
}
return null;
}
|
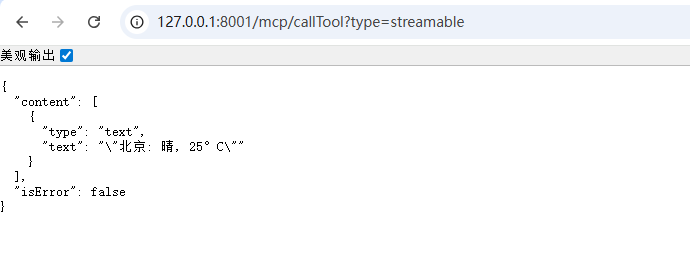
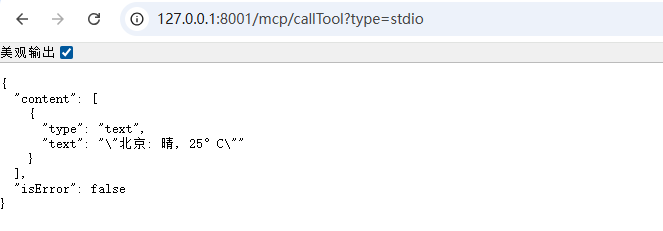
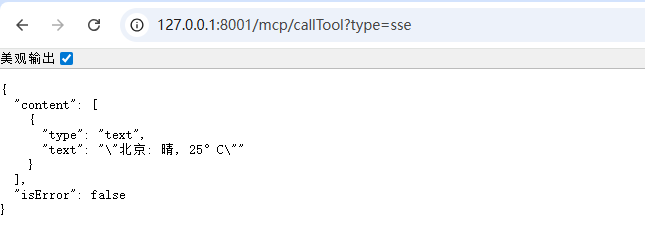
ChatClient 调用
我们将SyncMcpToolCallbackProvider注入到chatclient中,即可实现智能体对mcp server的接入。
1
2
3
4
5
6
7
8
9
10
11
12
13
14
15
| @Autowired
private SyncMcpToolCallbackProvider toolCallbackProvider;
@Autowired
private OpenAiChatModel chatModel;
private ChatClient chatClient;
@PostConstruct
public void init() {
ToolCallback[] toolCallbacks = toolCallbackProvider.getToolCallbacks();
this.chatClient = ChatClient.builder(chatModel) .defaultToolCallbacks(toolCallbacks) .build();
}
public String chat(String userMessage) {
return chatClient.prompt() .user(userMessage) .call() .content();
}
|
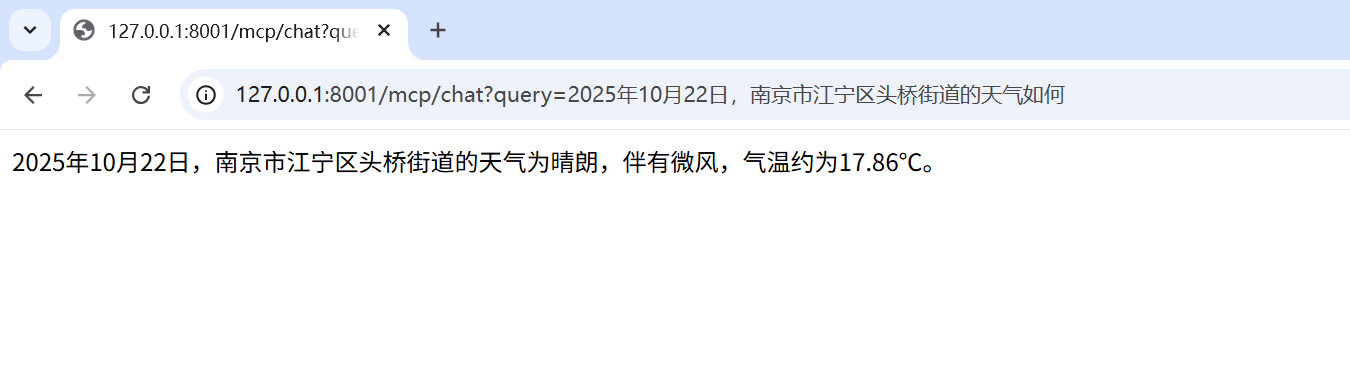
手动构建
分别手动构建了Stdio,SSE,Streamable三种mcp client,并注入到chatclient之中。
1
2
3
4
5
6
7
8
9
10
11
12
13
14
15
16
17
18
19
20
21
22
23
24
25
26
27
28
29
30
31
32
33
34
35
36
37
38
39
40
41
42
43
44
45
46
47
48
49
50
51
52
53
54
55
56
57
58
59
60
61
62
63
64
| @Service
public class ManualMcpClientService {
@Autowired
private OpenAiChatModel chatModel;
private ChatClient chatClient;
@PostConstruct
public void init() {
ServerParameters parameters = ServerParameters.builder("java")
.args("-jar", "D:\\LLMentor\\LLMentor\\mcp\\mcp-server-stdio\\target\\mcp-server-stdio-1.0.0-SNAPSHOT.jar")
.build();
StdioClientTransport stdioTransport = new StdioClientTransport(parameters, McpJsonMapper.createDefault());
McpSyncClient stdioClient = McpClient.sync(stdioTransport)
.clientInfo(new io.modelcontextprotocol.spec.McpSchema.Implementation("my‑client", "1.0"))
.requestTimeout(Duration.ofSeconds(10))
.build();
stdioClient.initialize();
HttpClientSseClientTransport transport = HttpClientSseClientTransport.builder("http://127.0.0.1:8003").sseEndpoint("/sse").build();
McpSyncClient sseClient = McpClient.sync(transport)
.clientInfo(new io.modelcontextprotocol.spec.McpSchema.Implementation("sse-client", "1.0"))
.requestTimeout(Duration.ofSeconds(10))
.build();
sseClient.initialize();
HttpClientStreamableHttpTransport streamableTransport = HttpClientStreamableHttpTransport.builder("http://127.0.0.1:8004/stream/test/").endpoint("api/mcp").build();
McpSyncClient streamableClient = McpClient.sync(streamableTransport)
.clientInfo(new io.modelcontextprotocol.spec.McpSchema.Implementation("streamable-client", "1.0"))
.requestTimeout(Duration.ofSeconds(10))
.build();
streamableClient.initialize();
List<McpSyncClient> clients = List.of(streamableClient);
SyncMcpToolCallbackProvider provider = SyncMcpToolCallbackProvider.builder()
.mcpClients(clients)
.build();
ToolCallback[] callbacks = provider.getToolCallbacks();
this.chatClient = ChatClient.builder(chatModel)
.defaultToolCallbacks(callbacks)
.build();
}
public String chat(String userMessage) {
return chatClient.prompt()
.user(userMessage)
.call()
.content();
}
}
|
注意在手动配置 HttpClientSseClientTransport 和 HttpClientStreamableHttpTransport 的时候,endpoint 要和 baseuri 建议一定要分开写,这边是跟Spring AI 的 URI 解析方式有关,如果融合在一起,会导致解析错误,报错404。