
14-09 OpenCode(CC的开源版)中的Skills的实现原理
✅OpenCode(CC的开源版)中的Skills的实现原理
我想带着大家了解下ClaudeCode中Skills的具体的实现原理,但是ClaudeCode是不开源的,不过有一个开源项目,OpenCode(https://github.com/anomalyco/opencode/tree/v1.2.27),这个是一个目前被认为最接近CC的开源版了。我们基于他,来学习一下Skills是如何工作的。
(2026.03.31,CC源码泄露,近期会再加更一期,介绍原汁原味的Skill实现原理)
本文源码基于1.2.27版本讲解
OpenCode中,Skill相关的代码都在src/skill这个目录下。
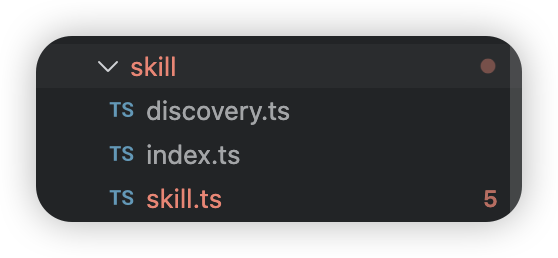
一、Skill 的数据模型
Skill 在内存中被建模为一个简单的四字段结构,定义在 src/skill/skill.ts:
1 | export const Info = z.object({ name: z.string(), // skill 唯一标识,来自 frontmatter description: z.string(), // AI 用来判断是否激活的描述 location: z.string(), // SKILL.md 的绝对路径 content: z.string(), // SKILL.md 正文(frontmatter 以外的内容)}) |
每个 Skill 由四个字段组成:
name:skill 的唯一标识名,从SKILL.md的 frontmatter 中提取description:人类可读的描述,AI 会通过它判断是否应激活此 skilllocation:SKILL.md文件在磁盘上的绝对路径content:SKILL.md正文内容(frontmatter 以外的 markdown 文本),即真正的指令内容
它对应的物理载体是一个 SKILL.md 文件,frontmatter 提供 name 和 description,正文就是 content:
1 | ---name: my-skilldescription: 这个 skill 做什么用的--- |
二、Skill 的发现与加载
Skill 的发现逻辑通过 state 函数懒初始化,按优先级依次扫描 4 类来源,后加载的会覆盖同名 skill(项目级覆盖全局级):
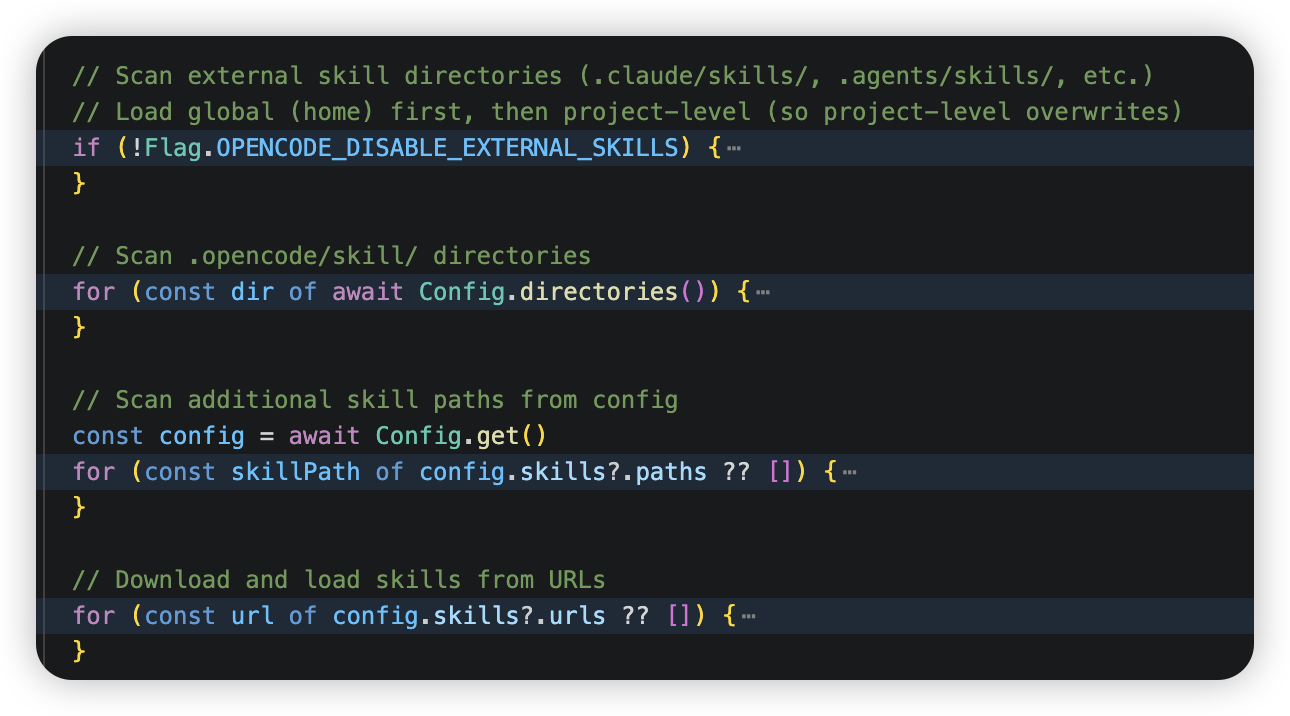
外部兼容目录
先扫全局 home 目录下的 .claude/skills/ 和 .agents/skills/
1 | // src/skill/skill.ts — 扫描外部目录const EXTERNAL_DIRS = [".claude", ".agents"]const EXTERNAL_SKILL_PATTERN = "skills/**/SKILL.md" |
这里会用到一个scanExternal方法,这个方法就是去目录下匹配找到具体的SKILL.md文件,后面的几层目录加载也还会用到他:
1 | const EXTERNAL_SKILL_PATTERN = "skills/**/SKILL.md" |
.opencode 自有目录
扫描 opencode 原生的 skill 目录,支持 skill/ 和 skills/ 两种命名。即.opencode/skill/ 和 .opencode/skills/:
1 | const OPENCODE_SKILL_PATTERN = "{skill,skills}/**/SKILL.md"for (const dir of await Config.directories()) { const matches = await Glob.scan(OPENCODE_SKILL_PATTERN, { ... }) for (const match of matches) await addSkill(match)} |
用户自定义路径
用户可以在 opencode.json 中声明自定义的 skill 路径(支持 ~/ 前缀和相对路径展开):
1 | for (const skillPath of config.skills?.paths ?? []) { |
远程 URL 下载
通过 Discovery.pull(url) 从远程服务器拉取 skill:
1 | for (const url of config.skills?.urls ?? []) { |
Discovery.pull(url) 的工作流程:
请求
{url}/index.json,获取 skill 清单(包含每个 skill 的文件列表)逐个下载文件到本地缓存目录(
Global.Path.cache/skills/{name}/)验证目录中存在
SKILL.md后将路径加入结果文件已缓存则跳过下载(幂等机制)
三、Skill的注册
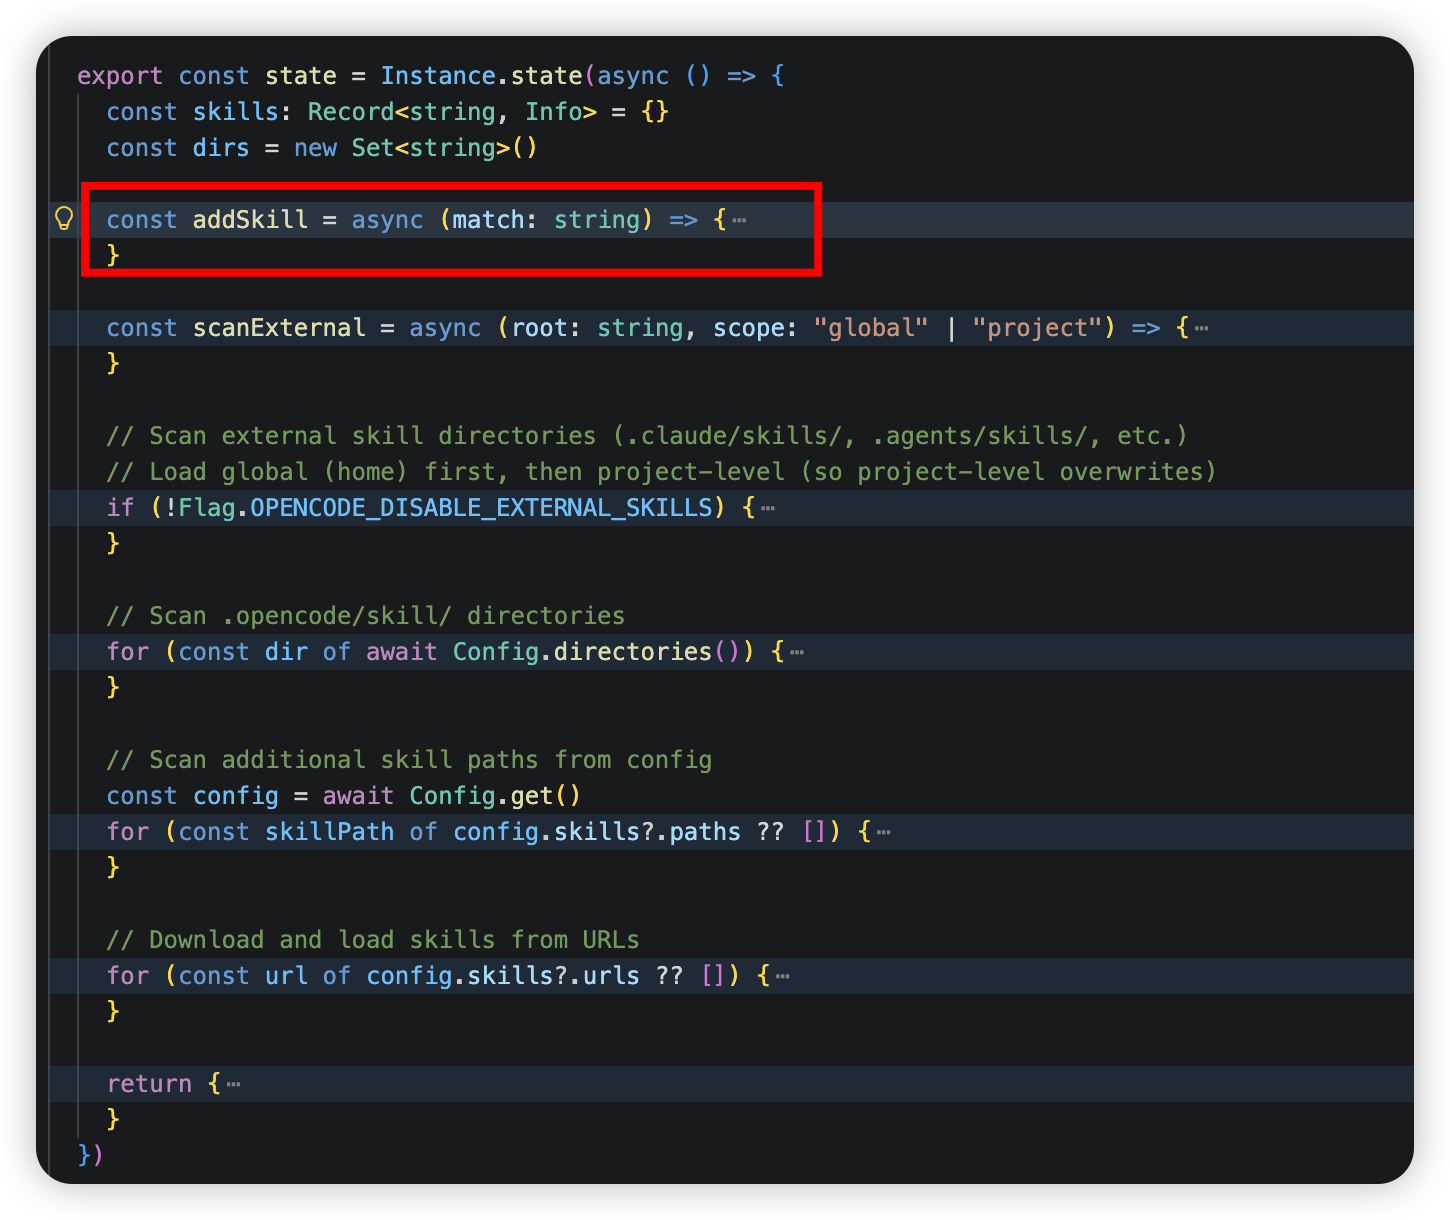
每发现一个 SKILL.md,都用这个addSkill函数解析并注册到内存 map 中:
1 | const addSkill = async (match: string) => { |
注册表是一个以 name 为 key 的 Record<string, Info> 对象,存储在 state 中。
四、Skill的初始化
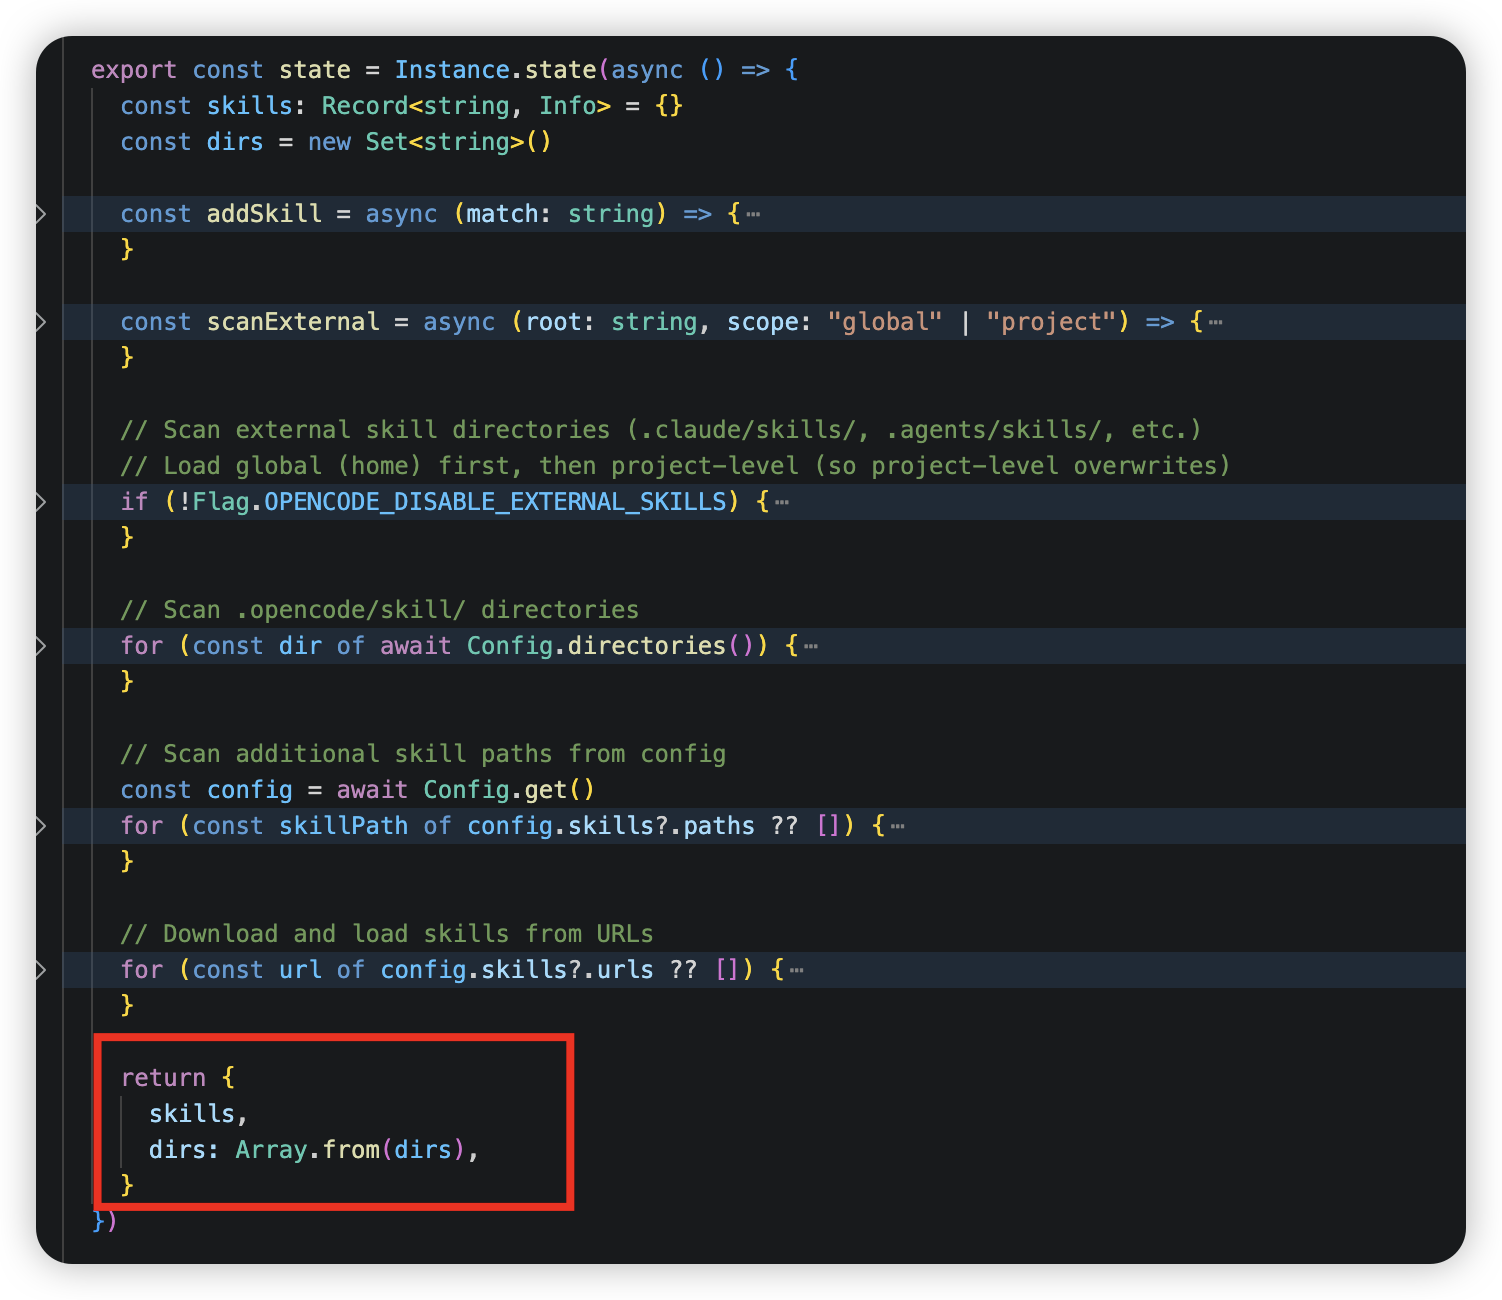
1 | export const state = Instance.state(async () => { // ... 发现与注册全过程 ... return { skills, dirs: Array.from(dirs) }}) |
Instance.state() 底层调用 State.create(),实现基于项目路径的单例懒加载:
1 | // state.tsexport function create<S>(root: () => string, init: () => S, ...) { return () => { const key = root() // key = Instance.directory(项目根路径) const exists = entries.get(init) if (exists) return exists.state // 已初始化直接返回缓存 Promise const state = init() // 首次访问时触发全量扫描 entries.set(init, { state, dispose }) return state }} |
五、Skill写入系统提示
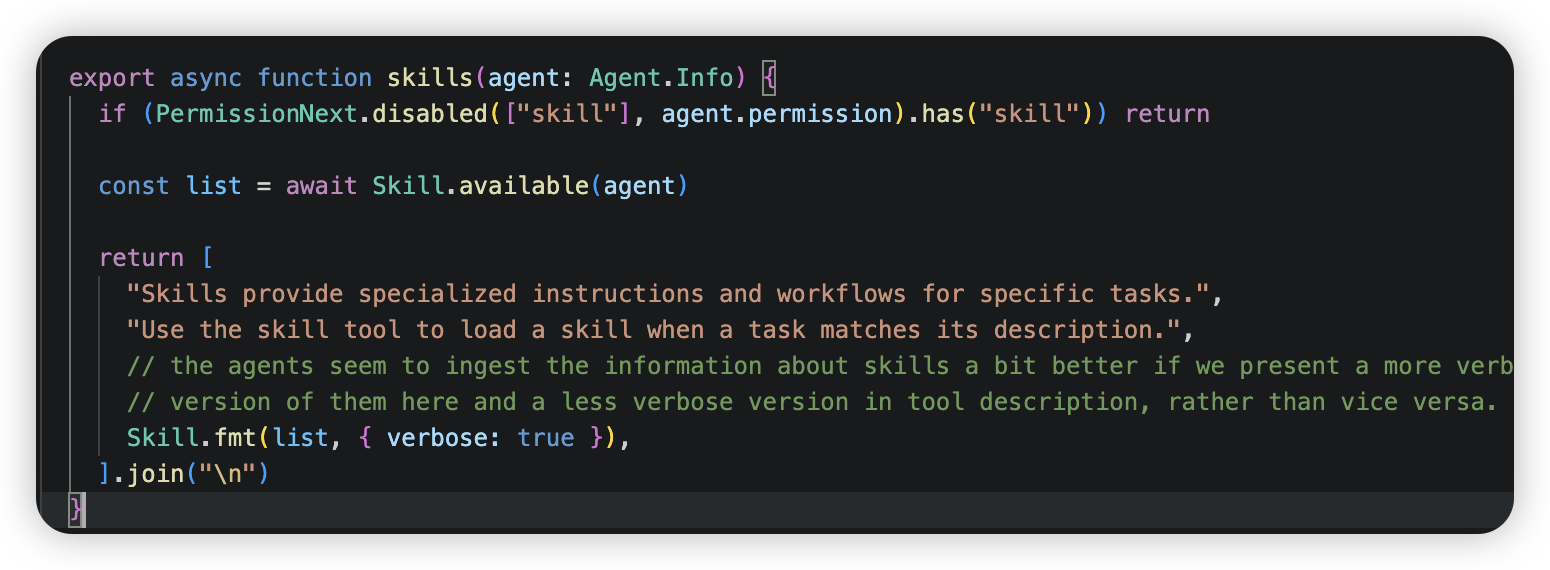
Skill 的执行分为两个阶段:系统提示阶段(预告)和 工具调用阶段(加载详情)。
每次会话开始时,SystemPrompt.skills() 将 skill 摘要注入系统提示:
1 | export async function skills(agent: Agent.Info) { // 检查 agent 权限,若 skill 工具被完全禁用则跳过 if (PermissionNext.disabled(["skill"], agent.permission).has("skill")) return |
Skill.fmt(list, { verbose: true }) 生成的 XML 片段被注入系统提示,AI 可以提前感知到有哪些 skill 可用:
1 | <available_skills> <skill> <name>my-skill</name> <description>...</description> <location>file:///path/to/SKILL.md</location> </skill></available_skills> |
这段 description 会被 LLM 看到,相当于告诉它:”这里有一个 skill 工具,它能加载以下这些 skill,当你判断任务匹配某个 skill 时,调用我并传入 name。” 此时 LLM 只看到了摘要(name + description),并没有看到 skill 的完整内容。
这样 LLM 在看到工具描述时就能知道有哪些 skill 可用,并在识别到匹配的任务时主动调用这个工具。
六、Skill完整信息获取
AI 认为任务匹配某 skill 后,,主动调用 skill 工具并传入 name,整个 SkillTool 是动态构建的——每次请求时重新生成描述:
1 | export const SkillTool = Tool.define("skill", async (ctx) => { |
以上代码的主要流程(execute方法):
查找 Skill:根据 LLM 传入的 name 参数,通过 Skill.get(name) 查找对应的 skill。如果找不到就抛出错误并列出所有可用的 skill 名称。
权限检查:调用 ctx.ask() 发起一个权限请求(类型为 “skill”),如果用户配置了需要确认,会弹出交互式确认。always 字段设置为 skill 名称,意味着一旦用户允许过一次,后续不再重复询问。
收集附带文件:通过 Ripgrep.files() 列出 skill 所在目录下的所有文件(排除 SKILL.md 本身),最多收集 10 个。这些文件路径会以
… 标签的形式包含在输出中,让 LLM 知道 skill 目录下还有哪些脚本、模板等资源可以配合使用。构造输出:最终返回给 LLM 的是一个结构化的文本块:
1 | <skill_content name="my-skill"># Skill: my-skill |
LLM 收到这个输出后,就会按照 skill 正文中的指令来执行后续任务——可能会调用 bash 运行 skill 目录下的脚本,或者读取其中的参考文件。
这里面用到的SkillTool和其他所有 tool(Bash、Read、Edit、Skill 等)一样,在 src/tool/registry.ts 中统一注册:
1 | // src/tool/registry.tsasync function all(): Promise<Tool.Info[]> { const custom = await state().then((x) => x.custom) return [ InvalidTool, BashTool, ReadTool, GlobTool, GrepTool, EditTool, WriteTool, TaskTool, WebFetchTool, TodoWriteTool, WebSearchTool, CodeSearchTool, SkillTool, // <-- Skill 在这里与其他 tool 并列注册 ApplyPatchTool, ...custom, ]} |
七、Skill 同时作为 Slash Command
在 src/command/index.ts 中,所有 skill 还被注册为用户可以手动触发的斜杠命令:
1 | // src/command/index.ts// Add skills as invokable commandsfor (const skill of await Skill.all()) { // 同名 command 已存在则跳过(command 优先级更高) if (result[skill.name]) continue result[skill.name] = { name: skill.name, description: skill.description, source: "skill", get template() { return skill.content // 直接使用 skill 的 Markdown 正文作为 prompt 模板 }, hints: [], }} |
这提供了一条绕过 LLM 判断的直接路径——用户在输入框中输入 /my-skill 就会直接将 skill 内容注入为消息,不需要等 LLM 自行识别并调用 tool。注意这里 source 被标记为 "skill",与普通 command("command")和 MCP prompt("mcp")区分开来。
八、完整执行流程总结
把上面所有环节串起来,skill 的完整生命周期是:
启动时发现:
Skill.state()按优先级扫描四个来源(外部兼容目录 → .opencode → 配置路径 → 远程URL),解析所有SKILL.md的 frontmatter,构建内存中的skillsmap。注册为 Tool:
SkillTool.init()读取所有 skill 的名称和描述,按 agent 权限过滤后,拼成一段 XML 格式的 tool description 提供给 LLM。此时 LLM 只看到摘要,不看到完整内容。注册为 Command:每个 skill 同时注册为一个斜杠命令,用户可以通过
/skill-name手动触发。按需加载:LLM 在对话中判断某个任务匹配某个 skill 时,调用
skilltool 传入名称。execute函数先做权限检查,然后把 skill 的完整 Markdown 正文、基准目录和附带文件列表组装成结构化输出,注入到对话上下文。执行指令:LLM 拿到完整的 skill 内容后,按其中的指示使用 Bash、Read、Edit 等其他 tool 完成实际工作(实际工具调用是Agent调的,LLM只决策怎么调,入参是什么)。skill 目录下的文件因为已被白名单放行,可以直接读取使用。
这个设计的精妙之处在于渐进式披露——Skill 内容不在启动时就全部塞进 system prompt(那样会浪费 context window),而是只暴露摘要让 LLM 知道有什么可用,需要时再按需加载完整内容。这在 skill 数量较多时既节省了 token,又保持了灵活性。